
Hand Pruner Maintenance Made Easy
Is your hand pruner looking a little worse for wear? Maybe it’s rusty, crusty, squeaky, or just plain dull? If you’ve tried cleaning and sharpening them but haven’t had much luck, don’t worry—you’re not alone! I’ve been there too, trying to keep my secateurs in good shape without taking them apart. The fear of losing a tiny piece or messing up the reassembly is real!
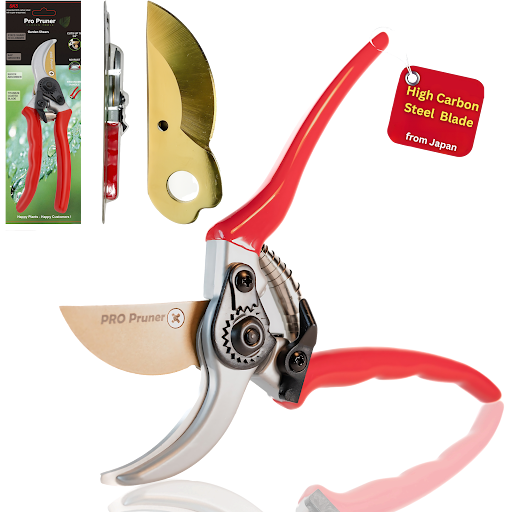
These tips focus on Pro Pruner or Felco bypass pruners, but they can easily be adapted for similar models from Pro Pruner. Let’s dive into the simple process of getting your pruners back into top shape. For step-by-step visuals, check out the "Pruner Maintenance 101"
Felco pruners are a staple in gardening, which is why I’m sharing insights tailored for Felco users. However, if you’re using professional-grade Fiskars or Pro Pruner, this guide will still work for you!
Gather Your Tools
To clean your hand pruners, you’ll need:
- Your hand pruners
- A screwdriver or the Felco or Pro Pruner adjustment key
- A small wrench or the same handy key
- A cup or small box for tiny parts
- A soft cloth
- Steel wool
- A piece of yarn or pipe cleaner (about 4 inches long)
- Soapy water
- 3-in-one oil (skip WD-40)
- A sharpening stone

Disassembly Steps
Positioning: Lay your pruners on a table with the hand lock facing up. Remove the bolt from the right handle (the one not connected to the lock). Use the adjustment tool to loosen it—remember, “lefty loosey, righty tighty.” Once it’s loose, finish unscrewing by hand and place the bolt and any small pieces in your cup.
Removing the Main Bolt: Next, use the wrench or Felco tool to loosen the larger bolt connecting the two handles. A quarter turn should suffice; then remove it by hand and set it aside.
Separating the Handles: Gently pull apart the two handles and remove the spring that connects them. Set the spring aside.
Removing the Blade: Carefully detach the blade from the left handle—it’s sharp, so handle it with care!
Cleaning Your Pruners
Wipe Down: Use the dry cloth to remove as much dirt and grime as possible. Dampen the cloth with soapy water and scrub the remaining dirt off. For stubborn grime, use the steel wool, then wipe everything again with the dry cloth.
Spring Cleaning: Take the yarn or pipe cleaner and run it through the spring to clean its inner surface. Rotate it until all the dirt is removed.
Lubrication: Once everything is clean, apply a small amount of 3-in-one oil to all moving parts, including the spring. Wipe off any excess oil with the cloth.
Sharpening the Blade
Now, let’s get that blade sharp! Focus on the beveled edge of the blade—this is the only side you’ll sharpen. Using your sharpening stone, slide the beveled edge along it in smooth, deliberate strokes. When it’s sharp enough, stop to avoid overdoing it. Finish with one last pull along the stone to clear any lingering metal shards.
 Reassembly Process
Putting your pruners back together can be a bit tricky, but it’s straightforward if you follow these steps:
Start with the handle that has the lock on the left. Reattach the spring and then position the blade correctly before securing the handles together with the bolt.
Ensure that the claw piece fits properly into the gear as you tighten the main bolt. Remember not to over-tighten—it should still allow for movement.
Once everything is in place, check for any alignment issues and make adjustments as needed.
And That’s It!
You’ve successfully disassembled, cleaned, sharpened, and reassembled your pruners! Give them a test run and keep an eye out for these common pitfalls:
- Forgetting to oil
- A main bolt that’s too loose or too tight
- Misalignment of the lock
- The claw not fitting into the gear
If any of these occur, don’t hesitate to partially disassemble and fix the issue. It happens to everyone, so don’t sweat it!
I wish I had this guide sooner. Proper maintenance can extend the life of your tools and keep them working like new. It might take some time, but it’ll save you money and give you pride in your gardening tools.
Thanks for reading! If you have questions or tips to share, feel free to comment or reach out via email.
Have you had any maintenance mishaps? I’d love to hear your stories and suggestions in the comments!
Blog available: propruners.com